swagger란
swagger는 REST api 문서를 자동으로 생성해주는 라이브러리이다. 예를들어서 앞에서 만든 게시판 생성 API를 만들었으면 프런트엔드 개발자가 사용할 수 있도록 문서를 다음과 같이 만들어 줘야 한다.
- url: /api/board
- method: POST
- request: json
예: { “title”: “제목”, “content”: “내용”} - response: json
예: { “code”: 0, “message”: “success”}
이와 같으 API 문서를 작성해야 프런트엔드 개발자가 개발할 수있다.
swagger는 이와 같은 API 문서를 자동으로 작성해준다. 뿐만 아니라 앞에서 postman으로 수행했던 test도 수행해준다.
swagger 적용
build.gradle에 springfox-swagger2 와 springfox-swagger-ui 라이브러리를 추가한다.
|
1 2 3 4 5 6 7 8 9 10 11 12 13 14 |
dependencies { implementation 'org.springframework.boot:spring-boot-starter-web' compileOnly 'org.projectlombok:lombok' compile("org.springframework.boot:spring-boot-starter-jdbc") compile("org.mybatis.spring.boot:mybatis-spring-boot-starter:1.3.1") // Swagger Library compile('io.springfox:springfox-swagger2:2.7.0') compile('io.springfox:springfox-swagger-ui:2.7.0') runtime("mysql:mysql-connector-java") annotationProcessor 'org.projectlombok:lombok' testImplementation 'org.springframework.boot:spring-boot-starter-test' } |
gradle reload 아이콘을 클릭해서 라이브러리를 다운로드한다.
Application에 Docket 빈을 추가한다.
|
1 2 3 4 5 6 7 8 9 10 11 12 13 14 15 16 17 |
@SpringBootApplication @EnableSwagger2 public class FullstackApplication { public static void main(String[] args) { SpringApplication.run(FullstackApplication.class, args); } @Bean public Docket api() { return new Docket(DocumentationType.SWAGGER_2) .select() .apis(RequestHandlerSelectors.basePackage("com.eastflag.fullstack")) .paths(PathSelectors.any()) .build(); } } |
여기까지 하면 기본 설정은 끝이다. 좀 더 상세하게 API 문서를 작성할려면 swagger 사이트를 참조한다.
swagger 테스트
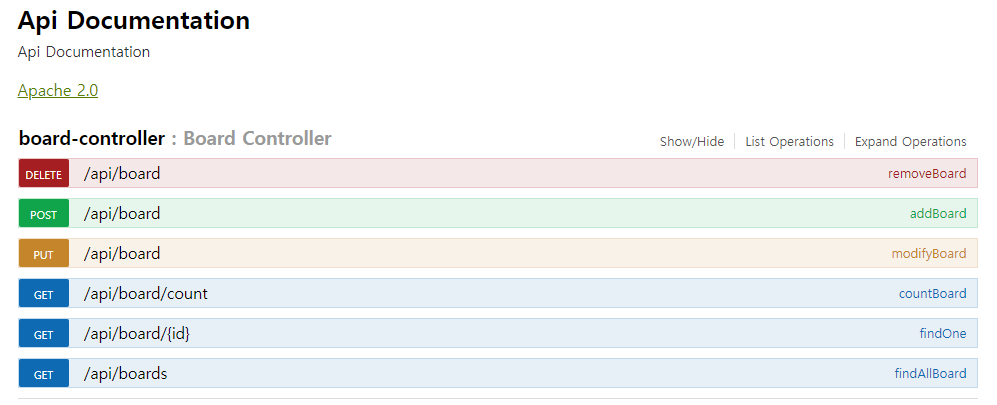
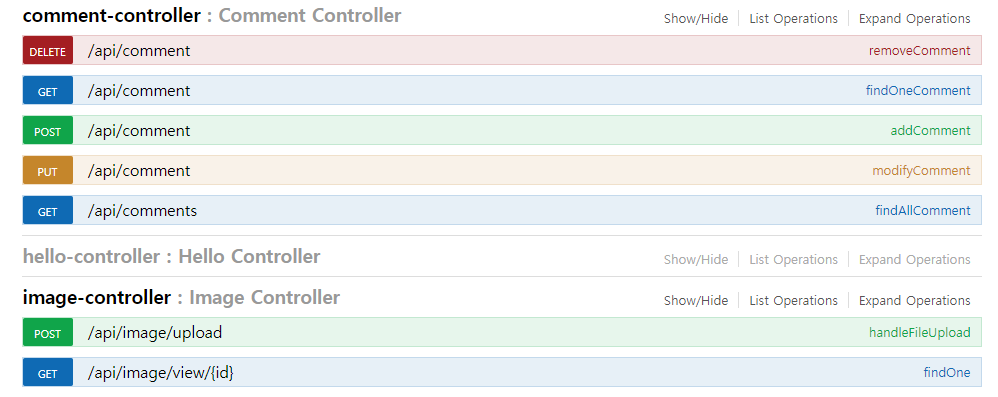
http://localhost:8080/swagger-ui.html 로 접속한다. 위의 API를 모두 작성했다면 아래와 같이 보일것이다.


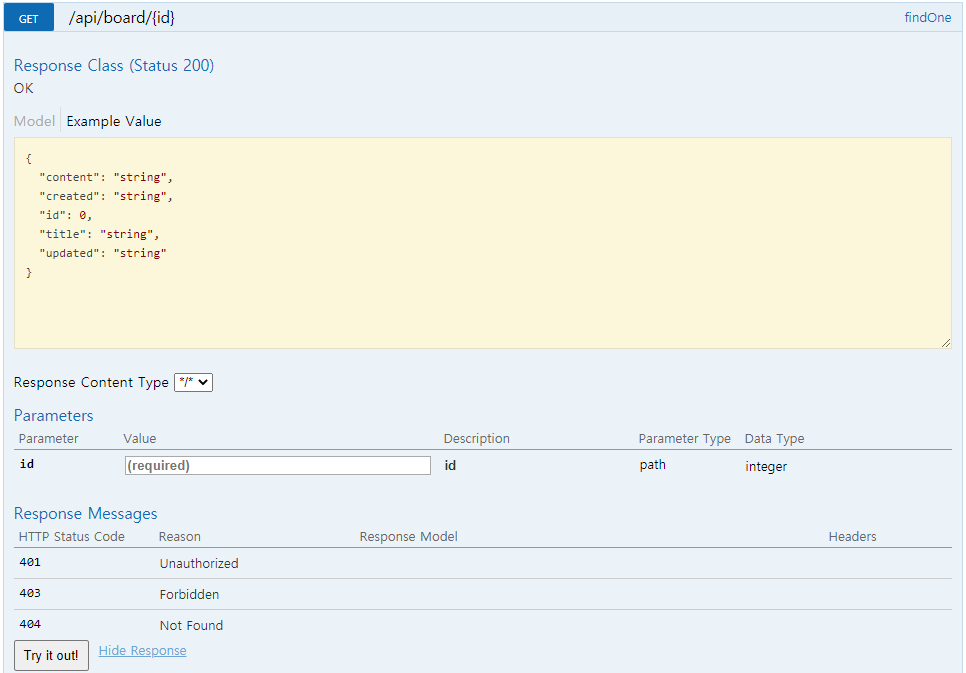
이 중에서 게시판 상세보기 API를 테스트해보자. 해당 API를 펼치면 아래와 같이 나온다.

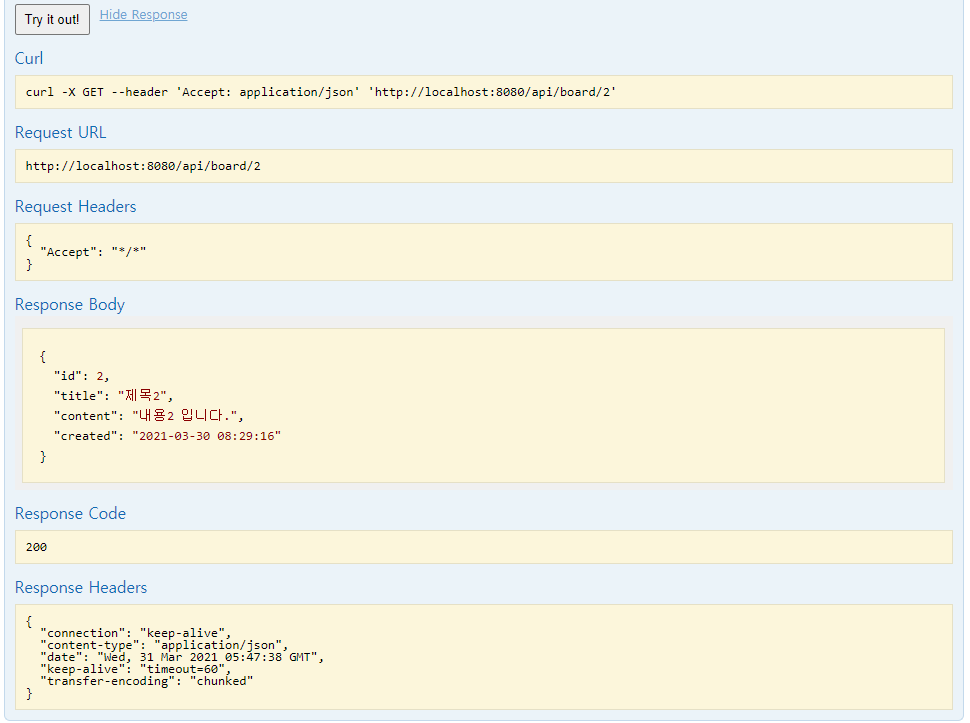
id 에 2를 넣고 Try it out! 버튼을 클릭하면 아래와 같이 나타난다.

